Cylindrical Plywood & Walnut Side Table
- Joe

- Aug 30, 2019
- 5 min read
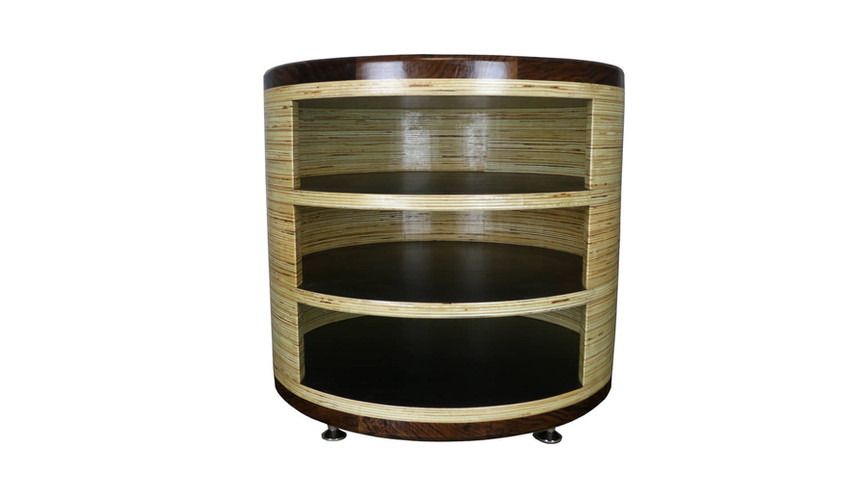
Not everyone is a fan of exposed plywood but I love it! The striped edge offers a great aesthetic in my opinion. This cylindrical table shows off the plywood beautifully, especially with its solid walnut top and bottom as a contrast. Here is how I made it
Materials Used:
18mm Plywood
American Black Walnut
Black Paint
Red Leather
Sandpaper
Tools Used:
Scissors
Clamps
To make perfect circles I used a trammel and a trim router. The pivot point was a dowel set 25cm away from the straight router bit. This will give me circles that are 50cm in diametre.

The router pivots around the dowel in the centre hole.
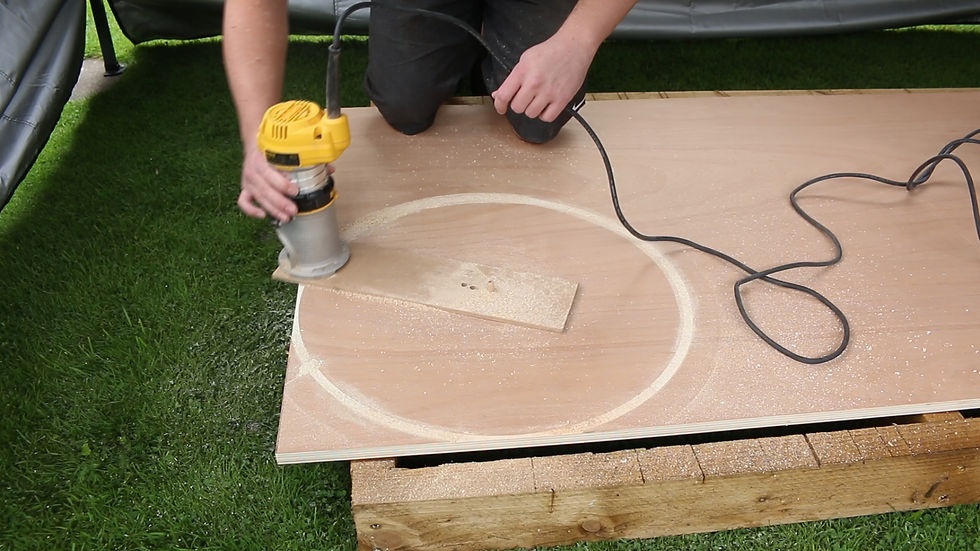
I slowly lowered the the depth of the cutter with each revolution.

Once I was past half way I used the jigsaw to cut the circle free.

I could then finish off the cut with the router. This just makes the circle easier to handle.
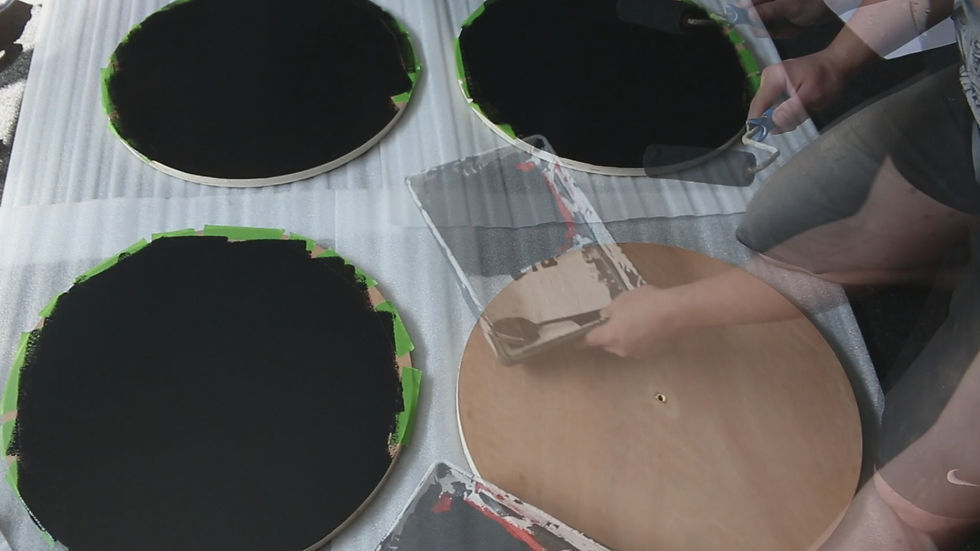
These will be the shelves so I added painters tape to the edges, this will help the wood glue adhere later. I then painted them black.

For the main body of the table I used plywood too. To make the most of the material I decided to create separate arcs rather than cutting one large horse shoe shape. I started by cutting a hoop shape from some MDF. Using the trammel made this nice and easy. The outside diametre is 50cm and the inside diametre is 45cm. This means the 'walls' of the hoop are 25mm.

I then cut a 35cm opening in the front of the hoop which gives me the horse shoe shape.

This opening will be the front of the table. It will create the opening to the shelves.

The I chose a random spot at the back to cut the piece in two. I made sure its wasn't central though because I want to be able overlap them later.

Then using the MDF templates as a guide to draw around I cut out the rough shapes with my jigsaw.

I needed 18 small arcs and 18 large arcs.
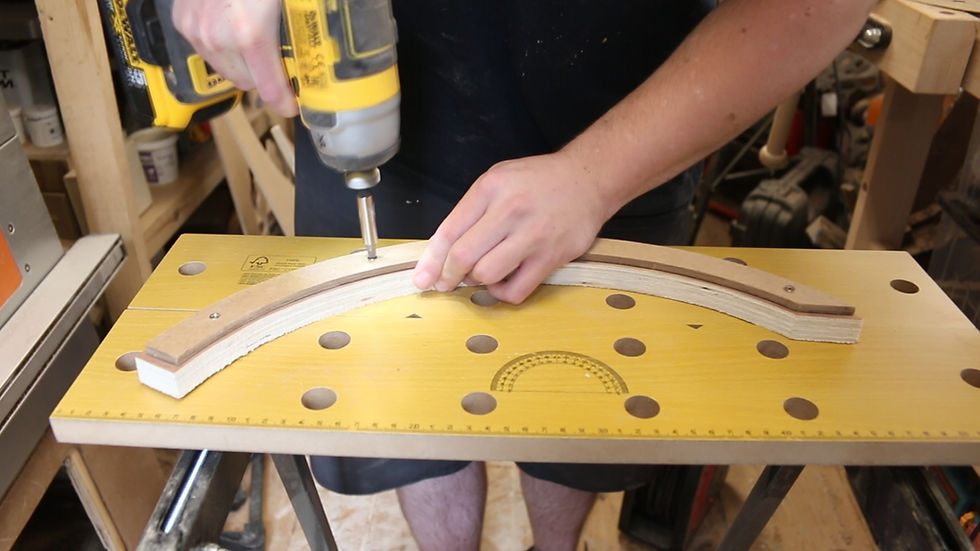
With them all cut out I could take the first 2 for each shelf section and attach the MDF with screws. This will be a guide for the flush trim bit. I could then flush trim them to match the MDF exactly.
This only needs to be done for 3 small arcs and 3 large arcs. These will be the first piece used on each level. The other pieces will use these ones as the guide.

The full circle shelves are used as a guide now. I placed the flushed up arcs onto the circle with no glue. I just needed to make sure they followed the right curve.

I could then apply wood glue on top of that layer and add the a large arc. As you can see in the images I alternated the placement of the large arc. This is so they over lap and form a finger joint. Its a lot like a brick wall pattern. The joints are much stronger this way.

The smaller arc gets added too and then screw hold them in place while the glue dries.

When the glue was dry its just a case of flush trimming the top layer to match the bottom layer. Then its very much rinse and repeat. I did this to build up 6 layers. I made another 2 sections this way which gave me 3 arcs curves each made up of 6 layers of plywood.
With the layers glued up and trimmed flush with the router it was time for gap filling. The plywood I used had quite a few voids so I mixed up some sawdust and wood glue to make a filler. I applied it to the voids, let it dry and then sanded it smooth and flush again.

Its much easier to add the finish now so I gave the 3 curved sections 3 coats of polyurethane.
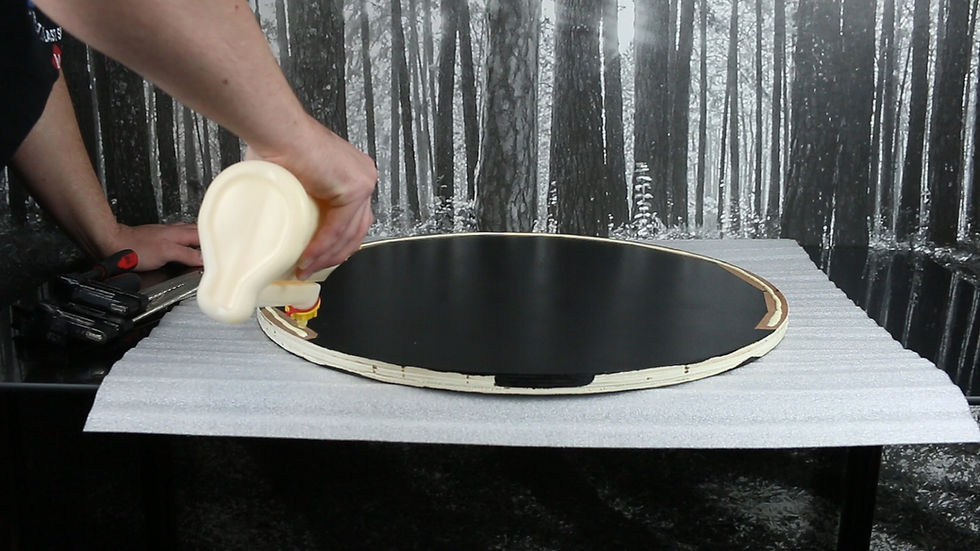
Now its time to stack the sections up. To make it easier I first glued 1 curve section to each of the shelf pieces.
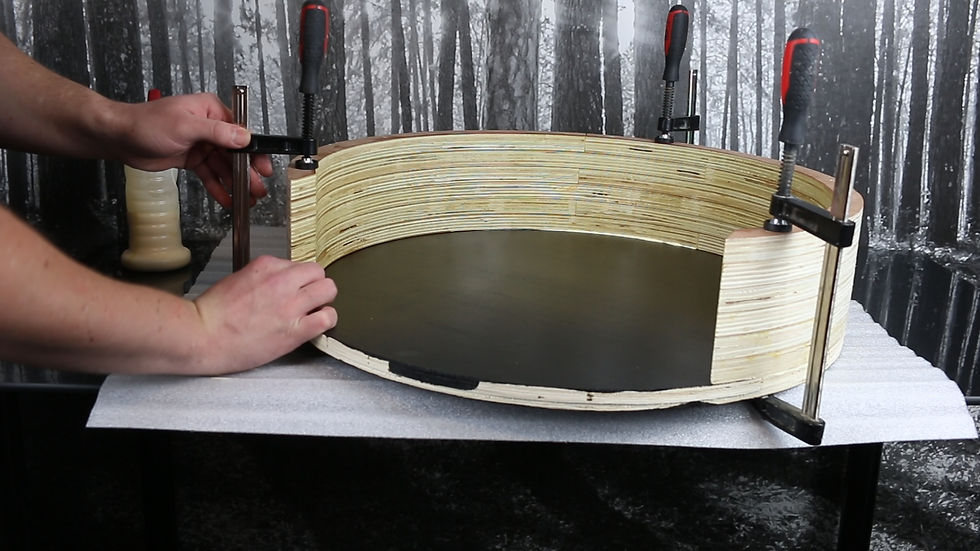
With the first layer added I used some F clamps to hold it in place while the glue dried. Before the glue has chance to dry I wipe away any that squeezed out.
I then added the second and third layer to the stack. The table is starting to take shape now.

When the glue was dry on the stack I filled any voids on the outside.

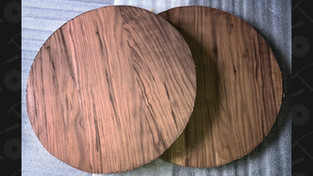
I then placed them on a panel of walnut. I glued up previously. I traced around the shelves with a pencil.

I could then cut 2 circles slightly larger than the lines I marked.
With 1 piece cut for the top and 1 for the bottom I added wood glue to the top and bottom of the plywood stack.
The walnut could then be clamped in place and left to dry.
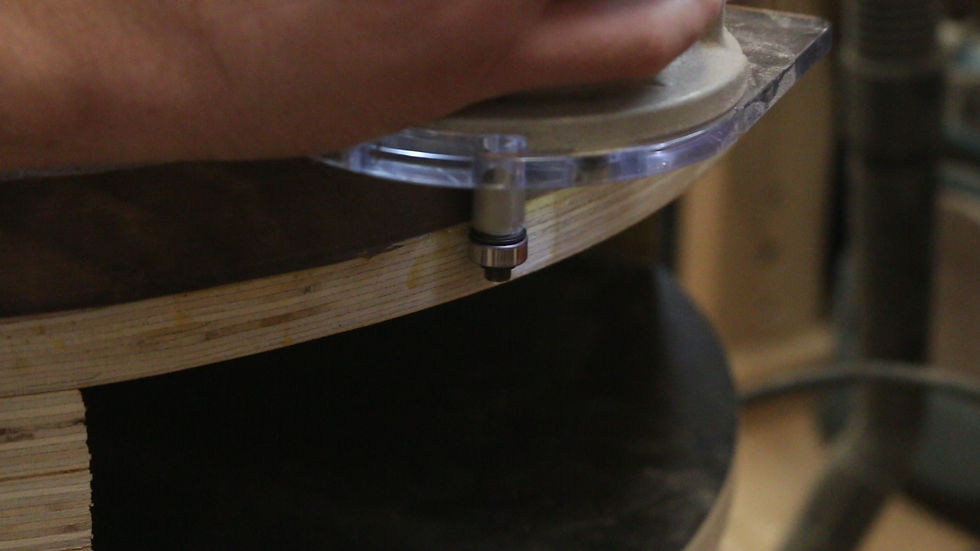
When the glue was dry I used the router again to flush trim it to match the plywood shelves.
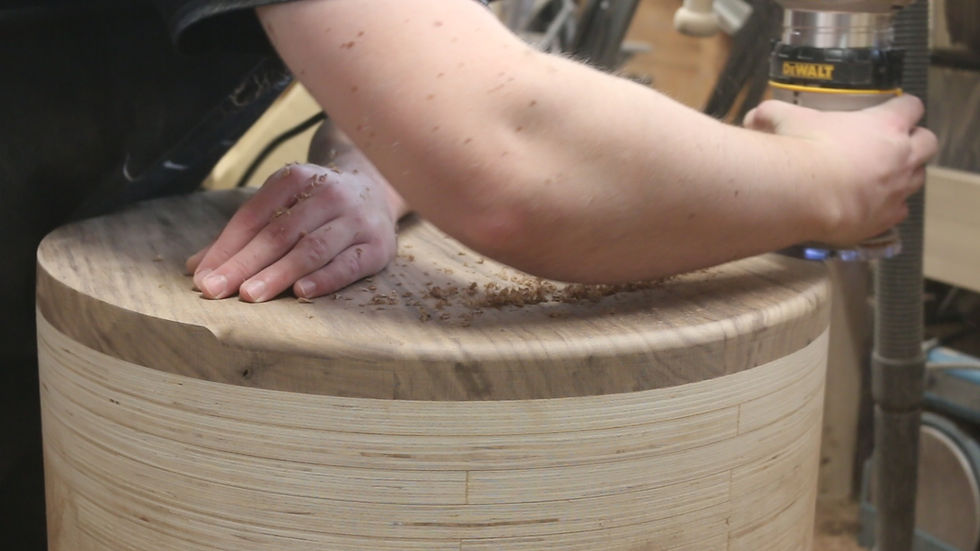
I thought a heavy round over would suit the piece so I used a router bit to create that profile.

I'm glad I did. I think the round over works well. I did this to the top and bottom walnut pieces.
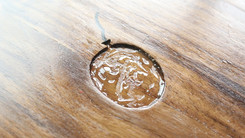
This project was made to raise money for the Birmingham Children's Hospital. I added their logo to the piece to give it some more sentimental meaning. So before applying finish I carved the balloon. The Birmingham Children's Hospital logo is a red balloon. A profile bit was used to carve the lines and then a straight bit removed the bulk material. I used Black Milliput to inlay the string black. This sands flush to reveal the design beneath.

I used 3 coats of polyurethane to finish the piece. I sanded between each coat to give a nice smooth finish.

I put painters tape inside the balloon shape to make sure no finish got inside.

When the finish was dry I added 4 chrome feet to the bottom. These are adjustable so they can be levelled to the floor.

The tape kept the walnut free from finish so it should work a lot better with the adhesive.
The inlay material I chose was red leather. Pressing it over the carved shape leaves a mark on the underside. Its quite faint but in the right light it can be seen. I then used a pair of scissors to cut out the shape.
To glue the leather to the walnut I used contact adhesive. This gets applied to the leather and the walnut. Then its left for about 3 mins to get tacky. The leather then can be applied. I used some tweezers to help tease it into place.
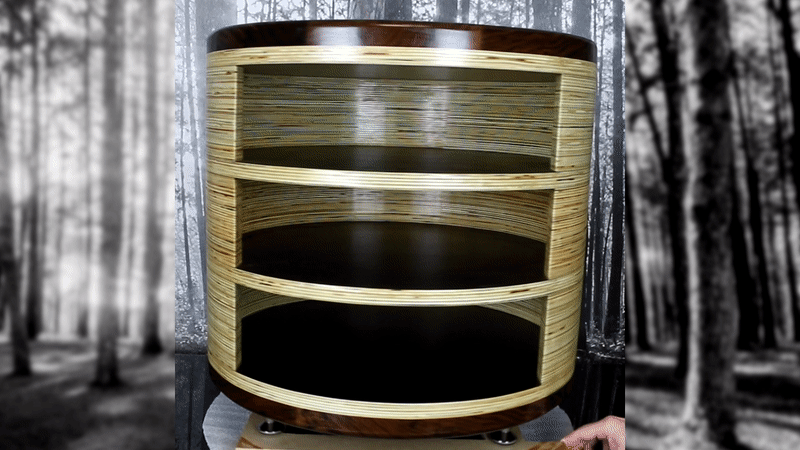
That's the piece complete! I really hope you like it!











Hi Nicholas, The overall height was 49cm including the feet. I hope that helps
hey mate, just wondering how tall did the project end up being, im trying to re make it but only got 30mm ply so trying to scale it to yours
Thank you Brad! Really glad you liked it! I managed to get it all out of 1 sheet of plywood.
Hi Joe
Just want to say I love the exposed ply wood table it looks amazing
How many sheets of ply wood did you use for this project
Thanks
Brad